? This document is deprecated!
The current version of GRT for Email no longer requires ConvertKit template modification.
After generating template code based on your GRT for Email settings, you’ll be able to tackle step 1 below. Once that’s done, you can follow the formatting instructions in step 2 every time you create a new email broadcast!
1. Create a GRT for Email template inside ConvertKit
You only need to do this one time!
Log into your ConvertKit account, and then look for the Create a new… dropdown selector on the right side of the page. Click to reveal the menu, and then select Email template from the available options.
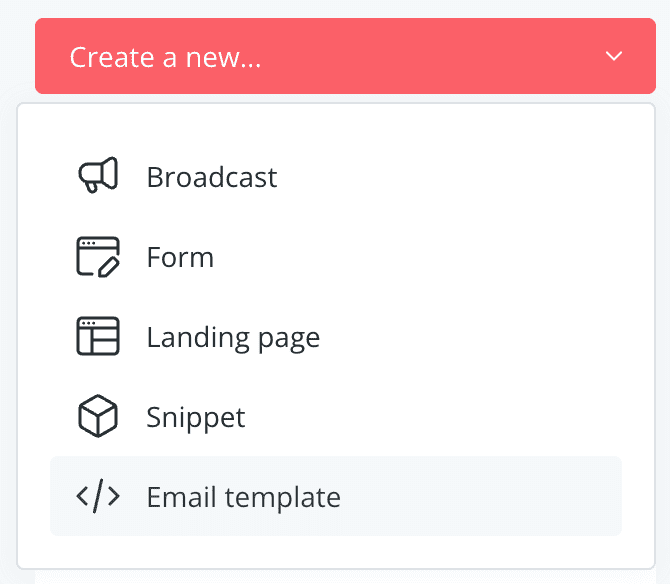
To get started, create a new email template
Now, ConvertKit will give you some options for how to create your new template. Click on Import code, and then click the Create HTML Template → link.
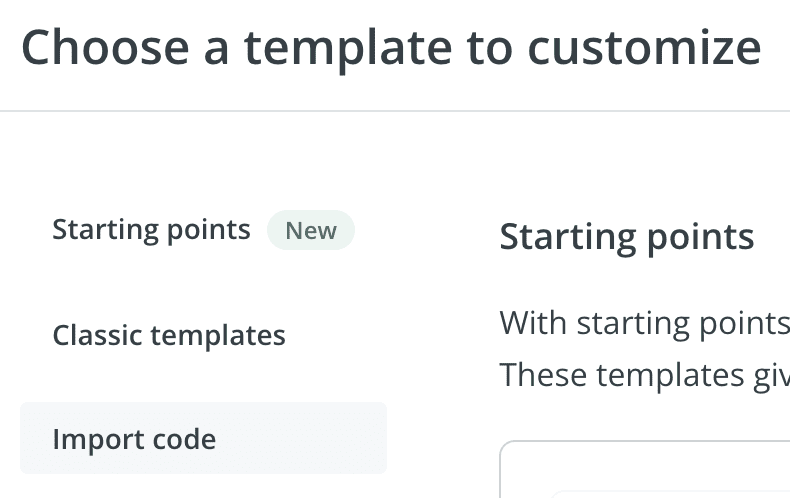
First, click on Import code…
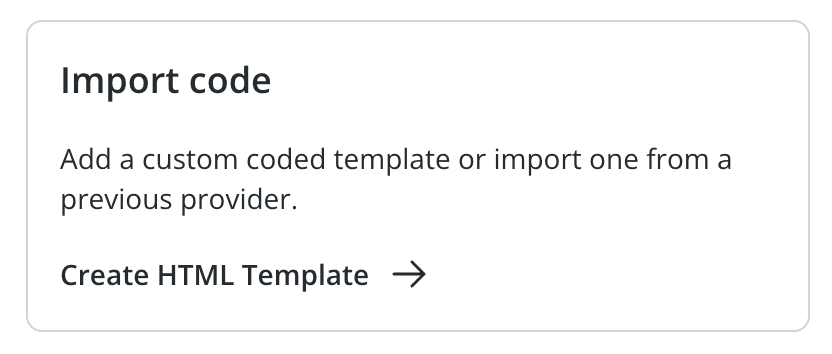
And then click on Create HTML Template →
This will take you to the New Email Template screen. Go ahead and name your template—I recommend “GRT for Email” ?—and then paste your GRT for Email code into the Template HTML field.
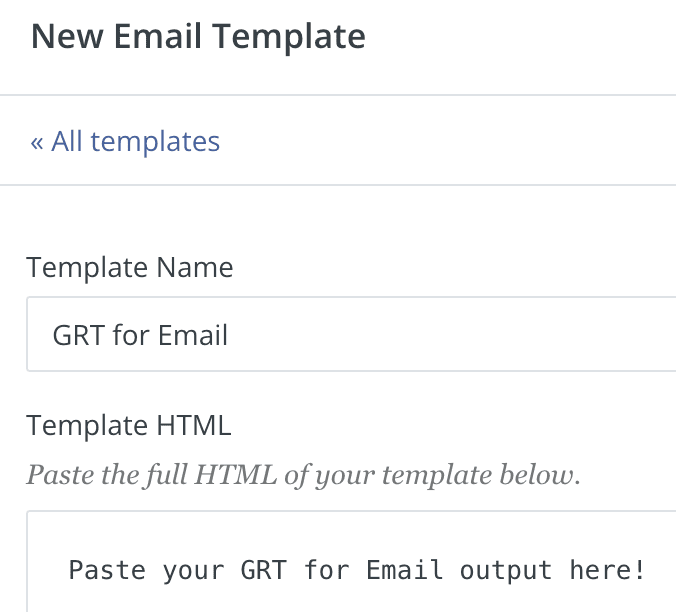
Paste your GRT for Email code into the Template HTML field
Click the Save button, and then you’ll be ready to create your first broadcast with GRT formatting!
2. Create a broadcast with GRT for Email formatting
You’ll use HTML Blocks to add enhanced formatting to your broadcasts
When you create a new broadcast, ConvertKit will ask you to choose a template for your broadcast. Select the GRT for Email template, and then you’ll be ready to compose your email.
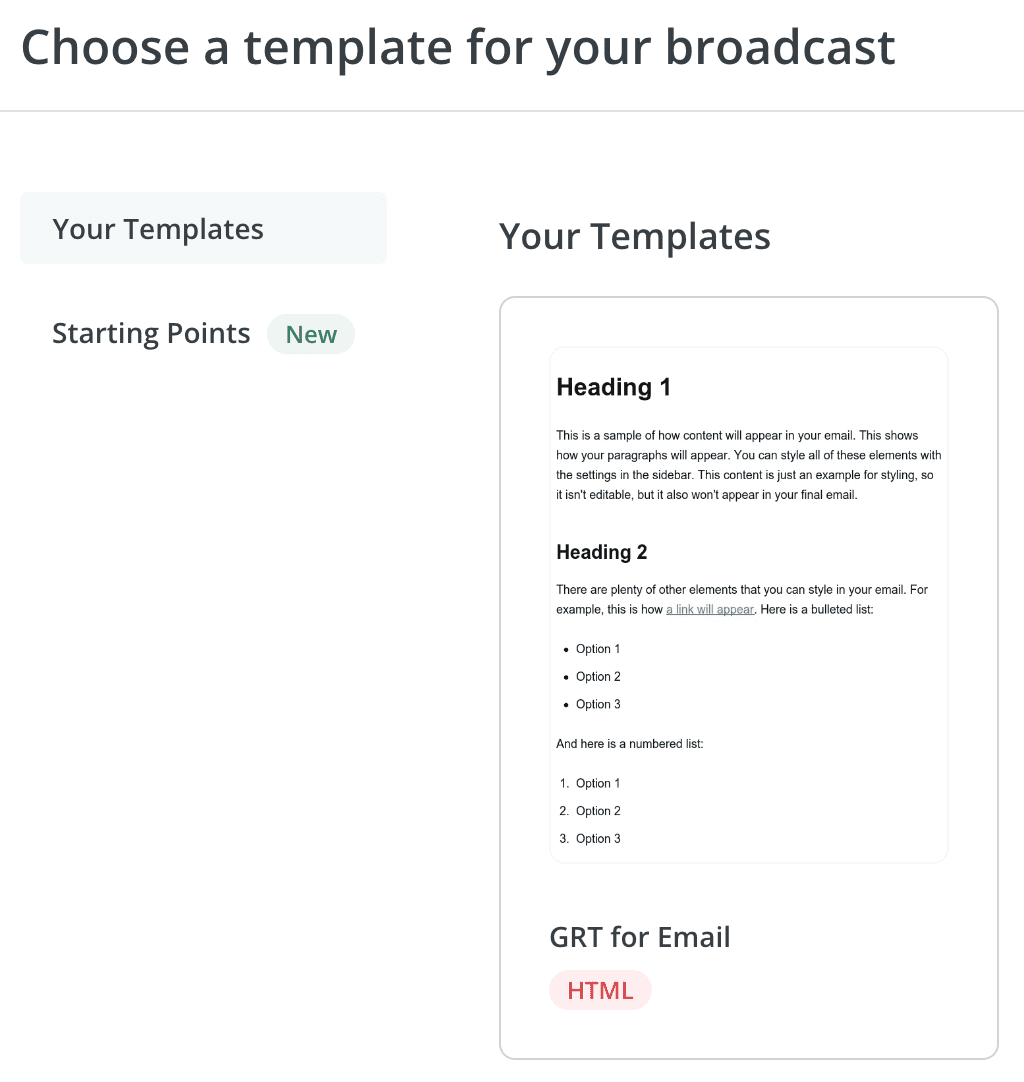
Select the GRT for Email template, and off you go!
When you compose an email in the ConvertKit editor, many of the GRT formatting styles will “just work” in the WYSIWYG editor:
- Headings
- Paragraphs
- Lists
- Blockquotes
But other styles require the use of HTML Blocks and simple code you can copy/paste (click any link for implementation instructions):
Use the code snippets below for easy implementation. Start by creating a new HTML Block, and then copy/paste your snippet and add content as indicated.
Callouts
For a single-paragraph callout:
<p class="callout">[callout text goes here]</p>
For a multi-element callout:
<div class="callout">
<p>[first paragraph goes here]</p>
<p>[second paragraph goes here]</p>
</div>
For a multi-element callout with a heading and button:
<div class="callout">
<h3>[optional heading goes here]</h3>
<p>[optional text goes here]</p>
<ul>
<li>[optional list item goes here]</li>
<li>[optional list item goes here]</li>
</ul>
<p><a href="your-url" class="button">[optional button goes here]</a></p>
</div>
For alert or note callouts, simply add a class to your callout:
// Alert
<div class="callout alert">...

// Note
<div class="callout note">...
Buttons
If you want your buttons to be as visible as possible, make sure there’s a lot of whitespace around them. The easiest way to do this is to always wrap your buttons in paragraph tags:
// Basic button
<p><a href="your-url" class="button">[button text]</a></p>

// Save button
<p><a href="your-url" class="button save">[button text]</a></p>

// Delete button
<p><a href="your-url" class="button delete">[button text]</a></p>

// Action button
<p><a href="your-url" class="button action">[button text]</a></p>

// Update button
<p><a href="your-url" class="button update">[button text]</a></p>
Please note: You can only turn links into buttons!
Drop Caps
Drop caps should always appear as the first element inside a paragraph:
<p><span class="drop-cap">[drop cap letter]</span>[rest of paragraph]</p>
Highlights
Highlights are inline elements that can appear inside headings, paragraphs, or list items:
<p>[some text] <span class="highlight">[highlighted text]</span> [some more text]</p>
Pop
Although pop styling does not work in all email clients—like Gmail, for example—it’s supported widely enough to consider using regularly.
Think of it as a progressive enhancement—it adds a little bit of flair where it’s supported, but you also don’t lose anything where it isn’t.
So go ahead—pop your callouts like this:
<p class="callout pop">[callout text]</p>
Salutation & Signature
These two elements go together at the end of your emails; simply create a new HTML Block, and then paste both of these lines in it:
<p class="fin">[salutation text]</p>
<p class="sig">[signature]</p>
Here’s an example of a properly-constructed salutation and signature:
<p class="fin">See you soon,</p>
<p class="sig">~ Chris Pearson (GRT for Email)</p>